 Rina & Michael
Our Camper Van Water System (With Free Hot Water)
By Michael · October 7, 2026
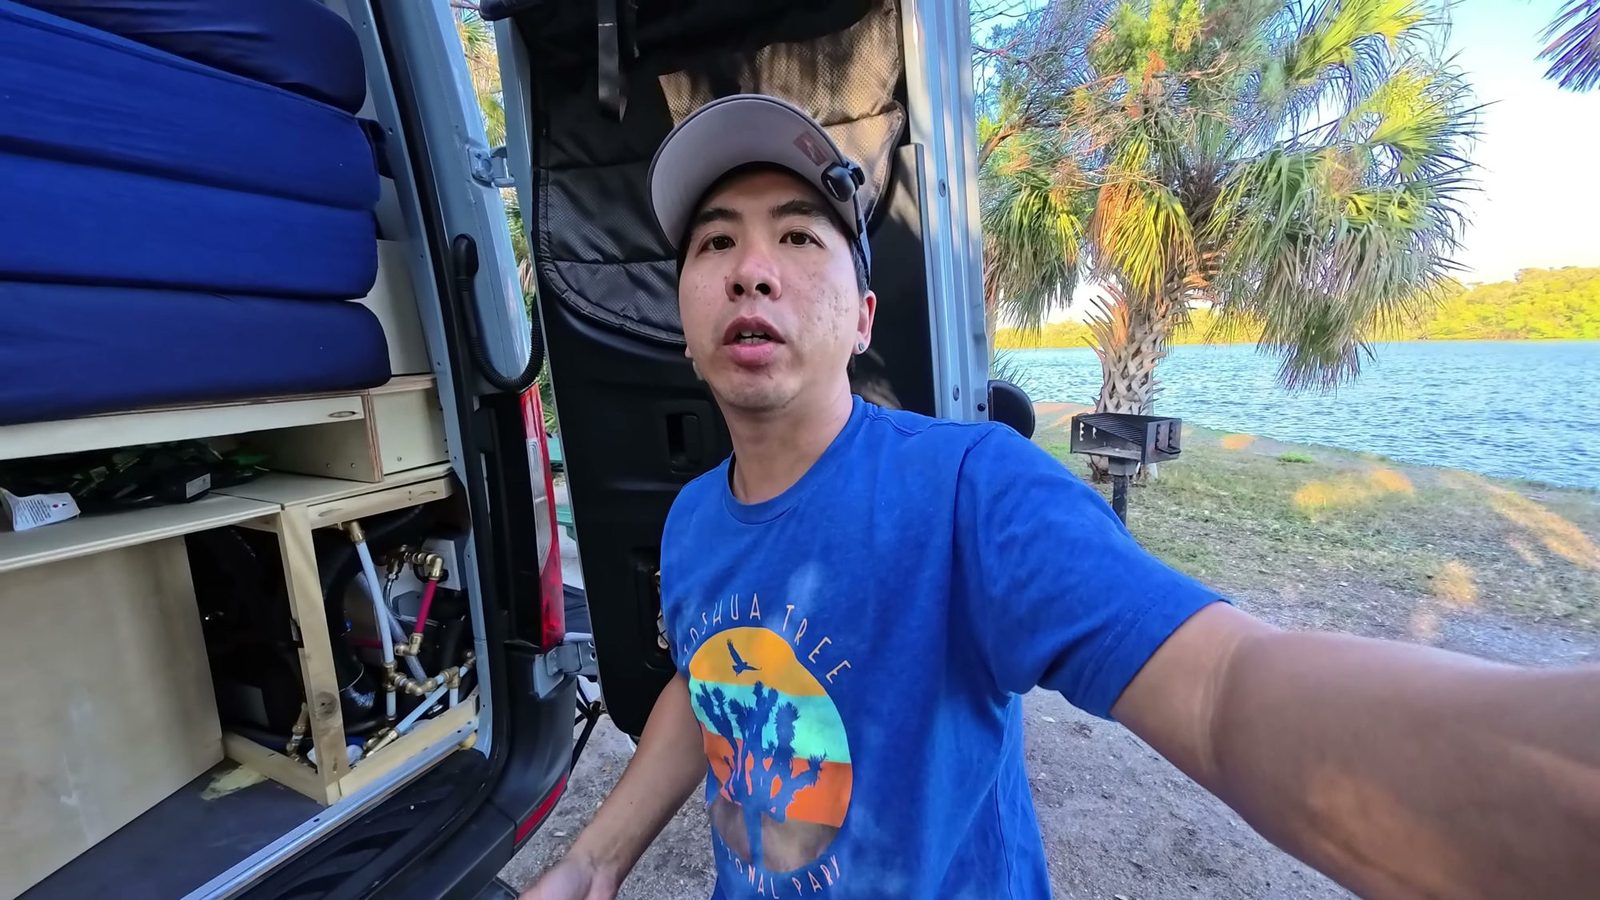
Our camper van water system is pretty simple. We have a 35-gallon fresh tank, a 12 V pump, PEX pipe with push-to-connect fittings, a small hot water tank that heats up from the engine while we drive, and two gray tanks under the van. Below is how it all fits together in our 2024 Sprinter 170, what it cost where we know the number, and what we’d change.
Safety: This is what we did in our own van, not professional advice. Plumbing, electrical and engine coolant work can cause injury, fire or water damage, and a leak inside a van can do a lot of damage before you notice it. Consult a licensed professional before doing any of it yourself, and follow the manufacturer’s instructions for every product.
Our camper van water system at a glance
- Fresh water: a 35-gallon tank over the passenger-side wheel well
- Hot water: a small Isotemp tank, heated by engine coolant while we drive, or by a 120 V electric element when we’re plugged in
- Pressure: a 12 V pump plus an accumulator, all 1/2-inch inner diameter
- Pipe: PEX with push-to-connect fittings
- At the sink: a touchless kitchen faucet, plus a built-in dishwasher teed off the cold line
- Gray water: two tanks hanging under the driver’s side
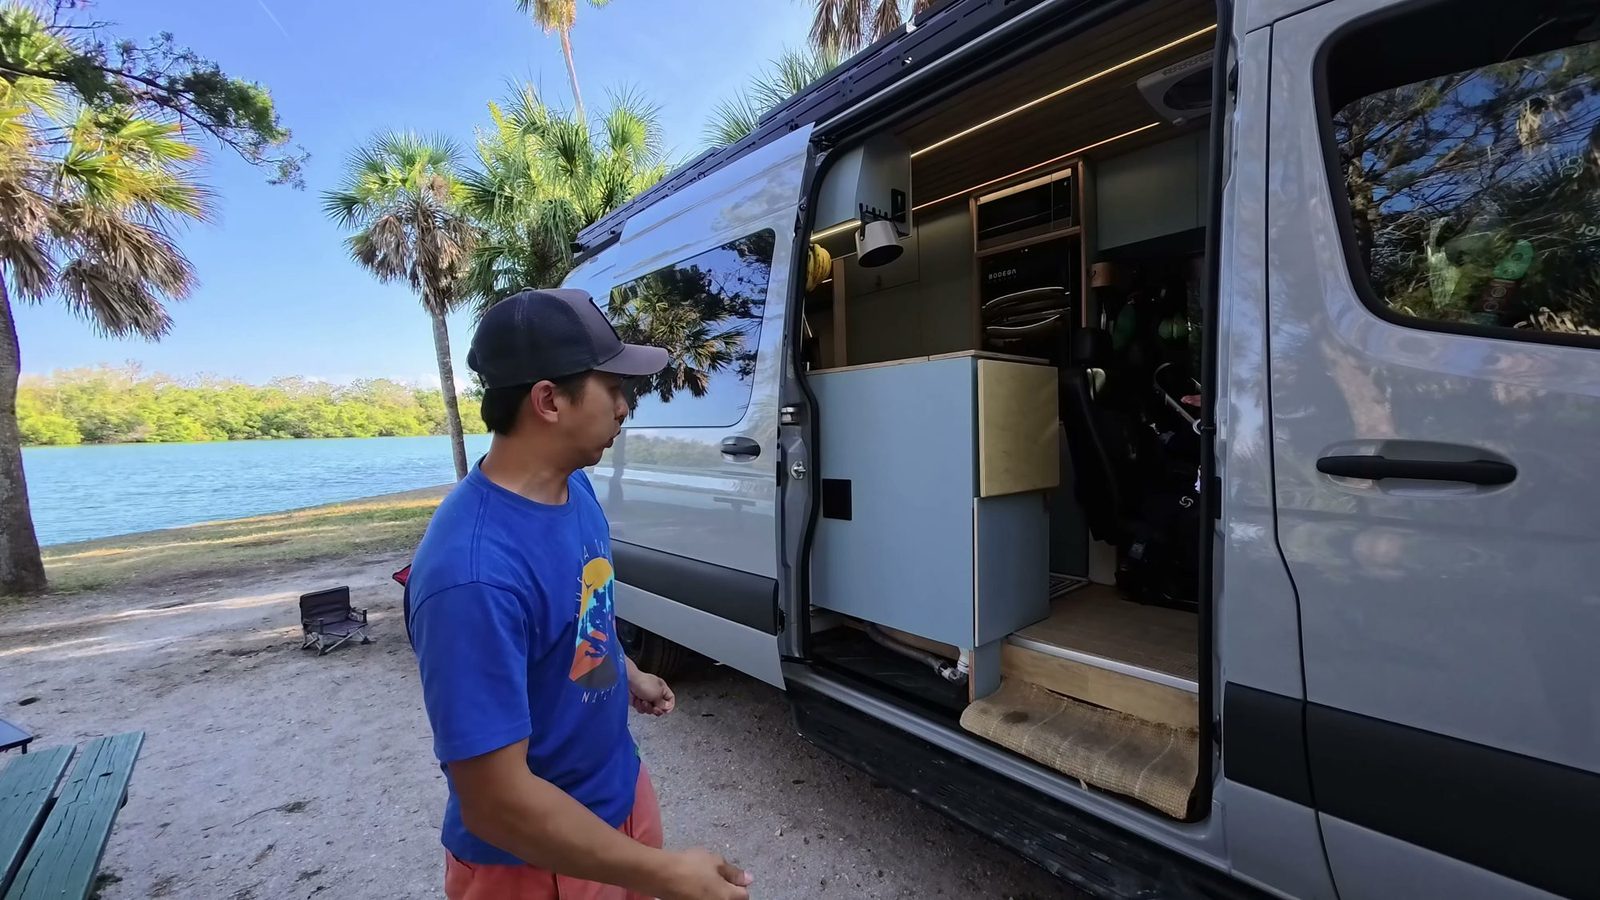
All the water parts live on one side of the garage and the electrical on the other, so the middle stays open for storage. You can see the setup in our van tour, and the full component list on our water and plumbing system page.
Van water system layout: how the water flows
This isn’t a full van water system diagram, just the path of the water in order, as I described it across our build videos.
- Fill. A city water inlet outside feeds a valve. One way, it fills the fresh tank. The other way, it bypasses the pump so we get unlimited water from a campground hookup.
- Fresh tank. Water leaves from the lowest fitting on the tank and goes to the pump.
- Drain tee. Right at the tank outlet there’s a tee with a ball valve, in case we want to winterize.
- Pump, then accumulator, then a barb-to-PEX adapter and a one-way check valve, so no water can flow backwards.
- Split. One branch feeds the hot water tank. The other runs to the faucet as cold.
- Faucet. It mixes hot and cold. The cold line is teed again for the dishwasher.
- Drains. They go through the floor to the gray tanks, which dump through valves we open with a switch.
The fresh water tank
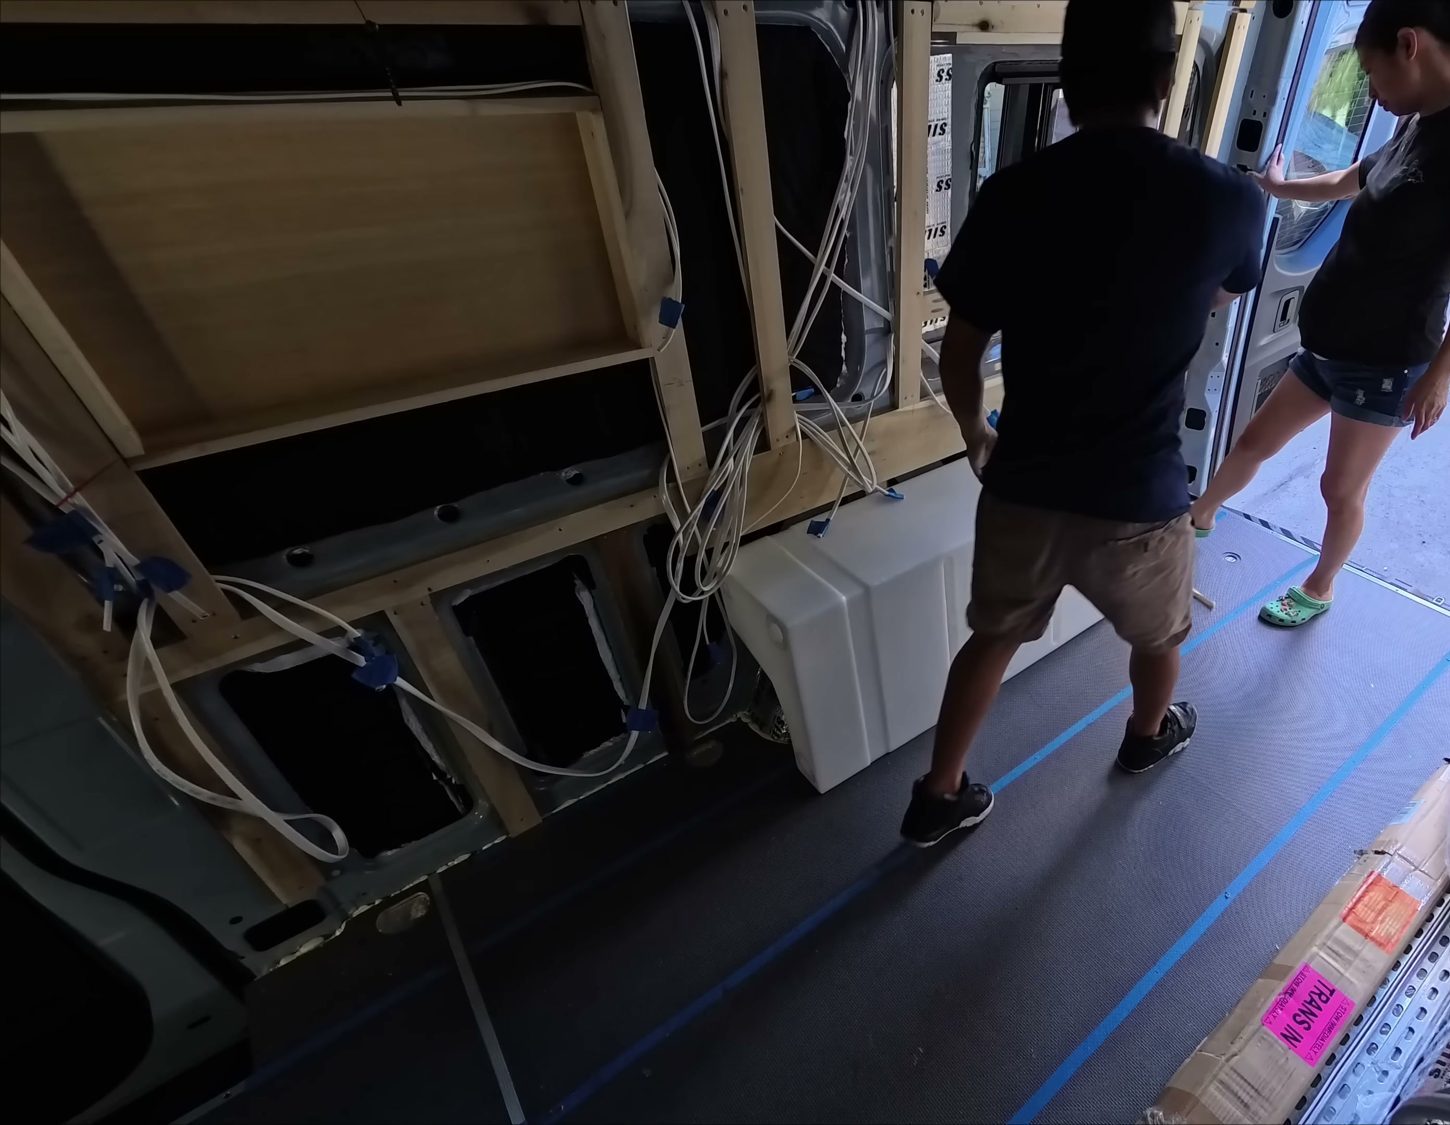 Test-fitting the 35-gallon tank over the wheel well, before any plumbing went in.
We waited for the tank to arrive before ordering the rest of the plumbing, to see exactly where it would sit. It’s the biggest tank we found that goes over the wheel well. Our old van’s rectangular tank sat in front of the wheel well and wasted a lot of garage space. The tank came with hold-down brackets: secure it well, because full, it’s super heavy.
Leak protection. I coated the floor under the whole water area with Flex Seal and built a small barrier, so a leak drains out through a hole instead of getting under the subfloor.
Level gauge. I drilled the tank top with a hole saw, finishing by hand so shavings wouldn’t drop in, for a KUS reed switch water level sensor. It’s wired into our Cerbo GX, so the level shows on the touchscreen.
Filling up: the city water inlet
Our inlet is an Aquor city water inlet quick connect. You put the hose adapter in and twist. No one can really tamper with it, because it needs that special adapter. The inlet and adapter were $90.
I mounted it on a plate cut from a wood deck joining plate instead of drilling a new hole in the body. It sits low, under the shore power port, so it isn’t obvious when we stealth camp. One catch: the adapter has a male end, so I needed a garden-hose adapter before our first test.
Fill or bypass. With the valve closed, city water pressurizes the whole system and skips the pump and accumulator. I tested it with the pump switched off, and the faucet still ran.
Draining the outside line. The exterior run has its own ball valve, normally off, so we can empty that short line when it gets cold. You can see the bypass test in our first full water test video.
Pump, accumulator and pipes
The pump and accumulator sit on a Flex-Sealed board in the garage, between the hot water tank and our Webasto heater. The pump is 12 V and switched from our panel.
- Check the arrows. Ours needed to flow left to right, so I mounted it upside down.
- Use the filter that comes with the pump.
- The accumulator gives more consistent pressure at the faucet.
At the pump I used braided nylon tubing on barb fittings with clamps. After that, everything is PEX, which is more rigid and stronger.
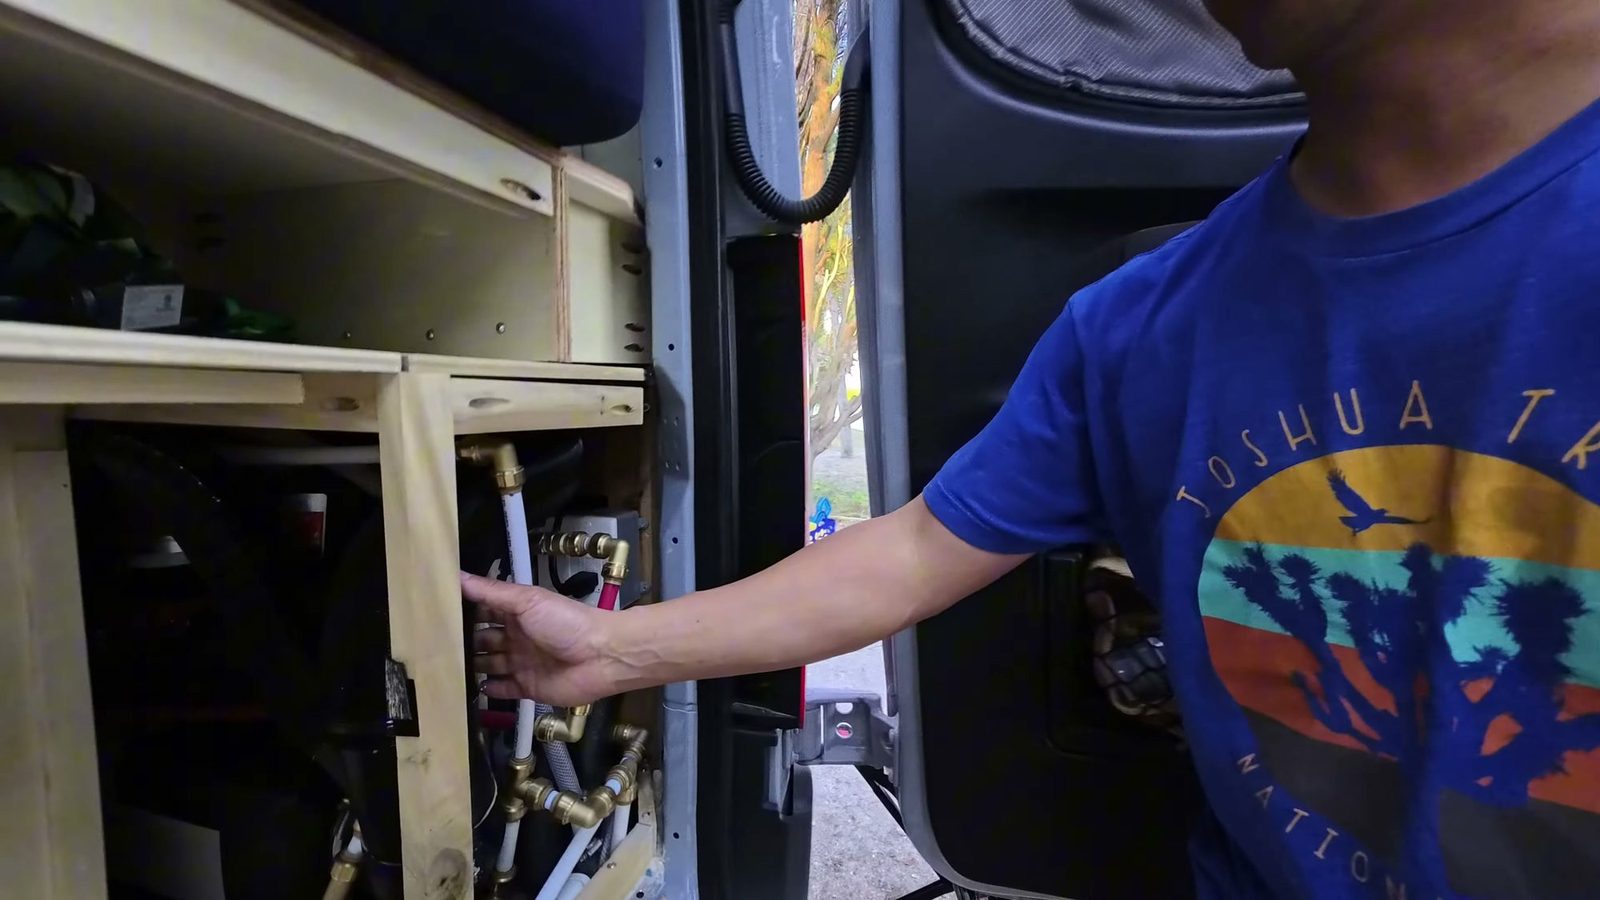 PEX with push-to-connect fittings. Cut the pipe, push it in, done.
Push-to-connect fittings. We used the same kind in our old van and they never leaked. The name brand at Home Depot and Lowe’s is just so expensive. At Lowe’s it was four elbows for $34. On Amazon I got 12 for about $40. The ones on our order list are SUNGATOR 1/2” push PEX elbows, SUNGATOR 1/2” push PEX tees and a JUWO 1/2” push-to-connect check valve. The barb fittings and nylon pieces came from Lowe’s.
Get our complete van build parts list (free PDF)
Every part we kept in our Sprinter build, system by system, with links. Plus a short email series on how each system works.
No spam, unsubscribe anytime. Privacy.
Camper van hot water system: free heat from the engine
We bought an Isotemp hot water tank and its install kit from Vanlife Outfitters (no affiliate, we just bought it there). It has two ways to make hot water:
- Engine coolant. Coolant heat leaving the engine is basically wasted, so as long as we’re driving, we get free hot water.
- A 120 V electric element for when we’re parked and plugged in.
We first looked at Aqua-Hot, a diesel system for both water and air, and chose this tank plus a separate furnace instead. It’s much better than the Bosch electric heater in our old van.
Tapping into the coolant line
This was very daunting for me. I’d never done it before. Following the kit’s instructions:
- Find the right hoses. After running the engine about 10 minutes, I used a thermometer to tell the engine hose from the heater-core return.
- Cut and tee. With the engine cool, I clamped both sides, set a bowl underneath, cut, and fitted the tees. Ball valves after the tees put the engine back to factory setup when closed.
- Run the hoses along the passenger side, where our tank is. The manual shows the driver’s side. The floor fitting needed a 1¾-inch hole saw.
- Seal the fittings at the tank with a high-temperature thread sealant rated up to 400°F.
- Fill and bleed. I filled the loop with coolant mixed 50/50 with distilled water, let the trapped air out, then opened the valves and checked for leaks. Briefly pinching the heater-core side pushed coolant through the new loop until the tank lines got hot.
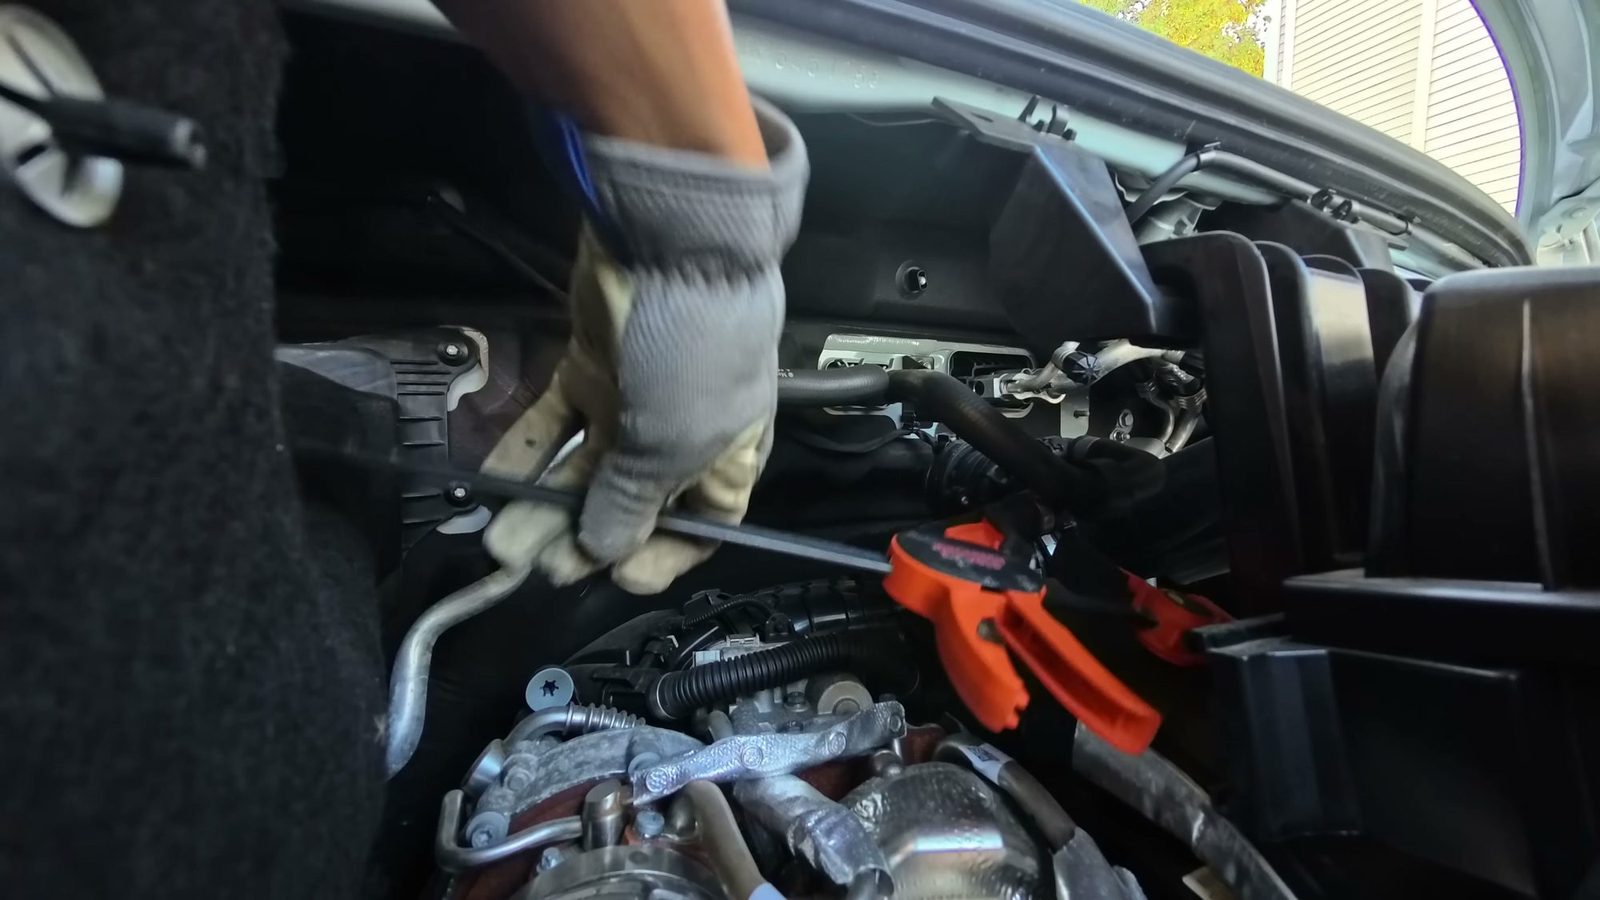 Clamping both sides of the coolant hose before cutting in the tees, with the engine cool.
Here’s the coolant work on video.
The electric element
The 120 V element plugs into an outlet that has its own switch, because we only use it when we’re on shore power. In testing it drew about 775 W, and after about an hour the tap was running “smoking hot.”
A separate hole in the floor carries the tank’s overflow and pressure-relief drain.
Our hot water “purge” button
This one is our own idea. The hot tank is about an 8 to 10 foot run from the faucet, so you’d wait five or six seconds and waste cold water before the hot arrives. I looped the hot line back to the fresh tank with a button by the sink. Press it, and the cold water in the hot line runs back into the fresh tank. Then the faucet gives us hot water right away.
Faucet, dishwasher and drinking water
The kitchen faucet is touchless: put your hand by the sensor and it turns off automatically. We keep the flow slow and tap it on and off while washing dishes, which helps us save water. It also has a pull-out sprayer and a switch to turn the sensor off. The dishwasher runs off a tee on the cold line.
For drinking water, we skipped putting a filter on the tank. Instead we refill two 3-gallon jugs, at about 50 cents a gallon.
Drains and gray water tanks
The kitchen drain. The bottom piece of the drain works like a P-trap: water only goes out one way, so no smells come back in. I drilled a pilot hole first so the big hole through the floor wouldn’t hit a beam.
The gray tanks. At the time of our van tour, we had a 15-gallon gray tank for the kitchen sink and a 5-gallon one for the shower. Both are painted black, because part of each tank shows under the van. The running-board mounts blocked our first spot, so I found a spot further back. Both tanks hang on stainless steel strap with self-tapping screws, and I added extra straps because a full gray tank is heavy.
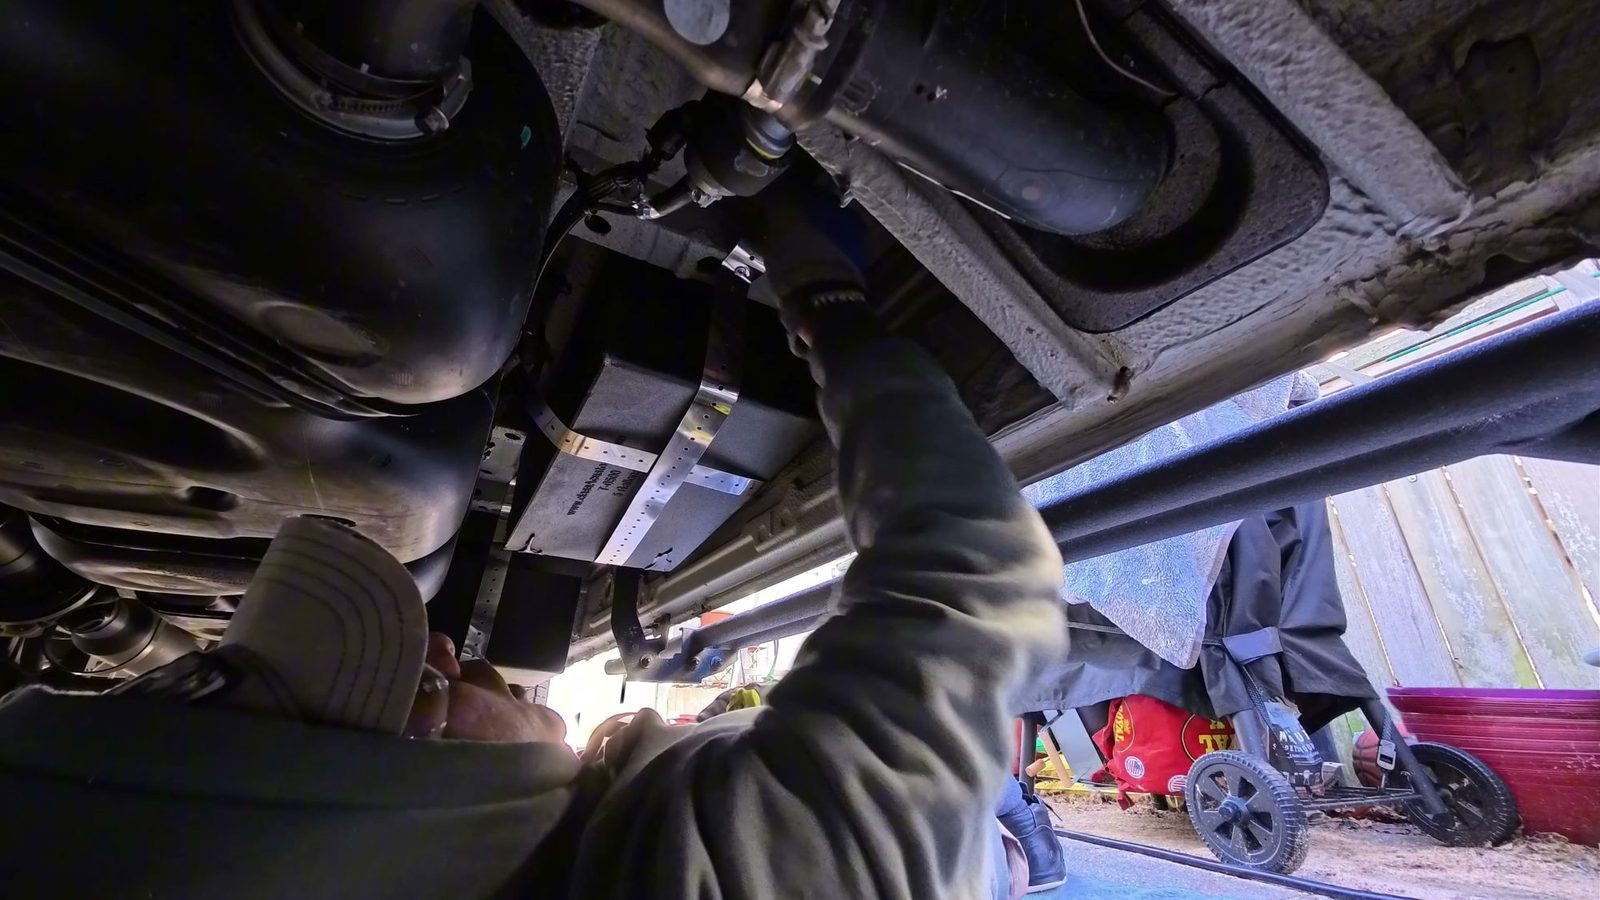 Extra stainless straps, because a full gray tank is heavy.
Each tank drains through a ball valve that we open with a switch inside the van.
A tubing mistake. Drain tubing sold as 1½-inch inner diameter wouldn’t fit our 1½-inch fittings, so I returned it and went smaller.
What about the shower?
The plan was a hidden pull-out shower box under the stove. The epoxy wouldn’t cure in the cold, and I didn’t love how it came out. In August 2026 we scrapped the whole idea. It gets so cold by the sliding door that I’m taking the water out of that area. We’ll shower with a hose head on the kitchen faucet, over a doggy pool behind a curtain. We don’t shower every day, so we don’t need a dedicated shower.
Winter lessons: what froze
Cold weather taught us the most about our water system:
- The drain froze. Near 0°F in Colorado, water froze in the pipe to the gray tank and backed up into the shower drain. Our fix is a ball valve under the sink, left open in winter, that drains straight to the ground.
- Lines near the walls freeze first. One night in Virginia, the front pipes froze at 23°F. For now, I put our limit at about 15°F.
- The fill line froze too. I thawed it with a heat gun at about 16°F.
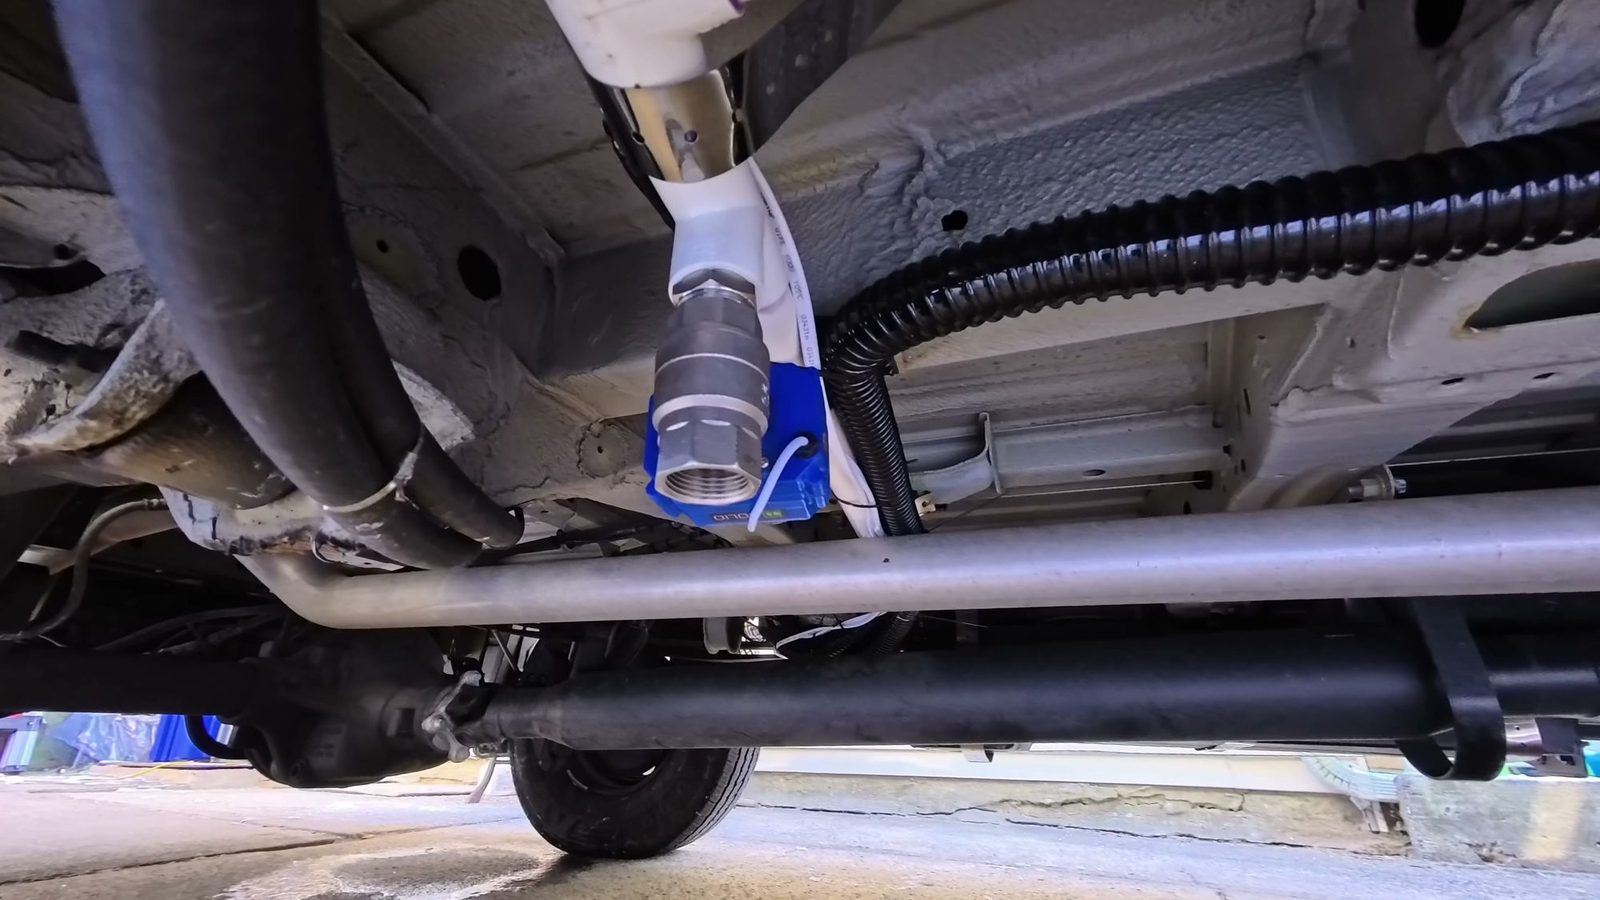 Our winter fix: a drain valve we leave open so water goes straight to the ground.
What it cost
We haven’t totaled the water system, so I won’t guess. The numbers I know are above: $90 for the inlet and about $40 for 12 push fittings. Every part we’ve linked is on our van build parts list.
What we’d do differently
- Plan the full diagram first. I spent an hour labeling every piece and connector, and still made a lot of Home Depot runs.
- Read the coolant kit instructions all the way through before closing up the engine-side lines. They’re meant to be filled first, and I found that out too late.
- Connect the drains before you set the sink. I wished I had.
FAQ
How big is the fresh water tank in our camper van?
35 gallons. It sits over the passenger-side wheel well.
How do we get hot water in our van?
An Isotemp tank heats water two ways: from engine coolant while we drive, which is basically free heat, and from a 120 V electric element when we’re plugged into shore power.
Can you hook a camper van up to campground water?
Ours can. The Aquor city water inlet feeds a valve that either fills the fresh tank or bypasses the pump, so the campground hookup pressurizes the system directly. With the pump off, the faucet still runs.
How cold can our van water system handle?
For now, about 15°F. The front lines froze at 23°F one night, and the gray tank drain froze near 0°F before we added a winter drain valve under the sink.
Some links here are affiliate links: we may earn a small commission, at no extra cost to you. Details