 Rina & Michael
Our Sprinter Van Solar Setup: 1,000W on 48V
By Michael · October 7, 2026
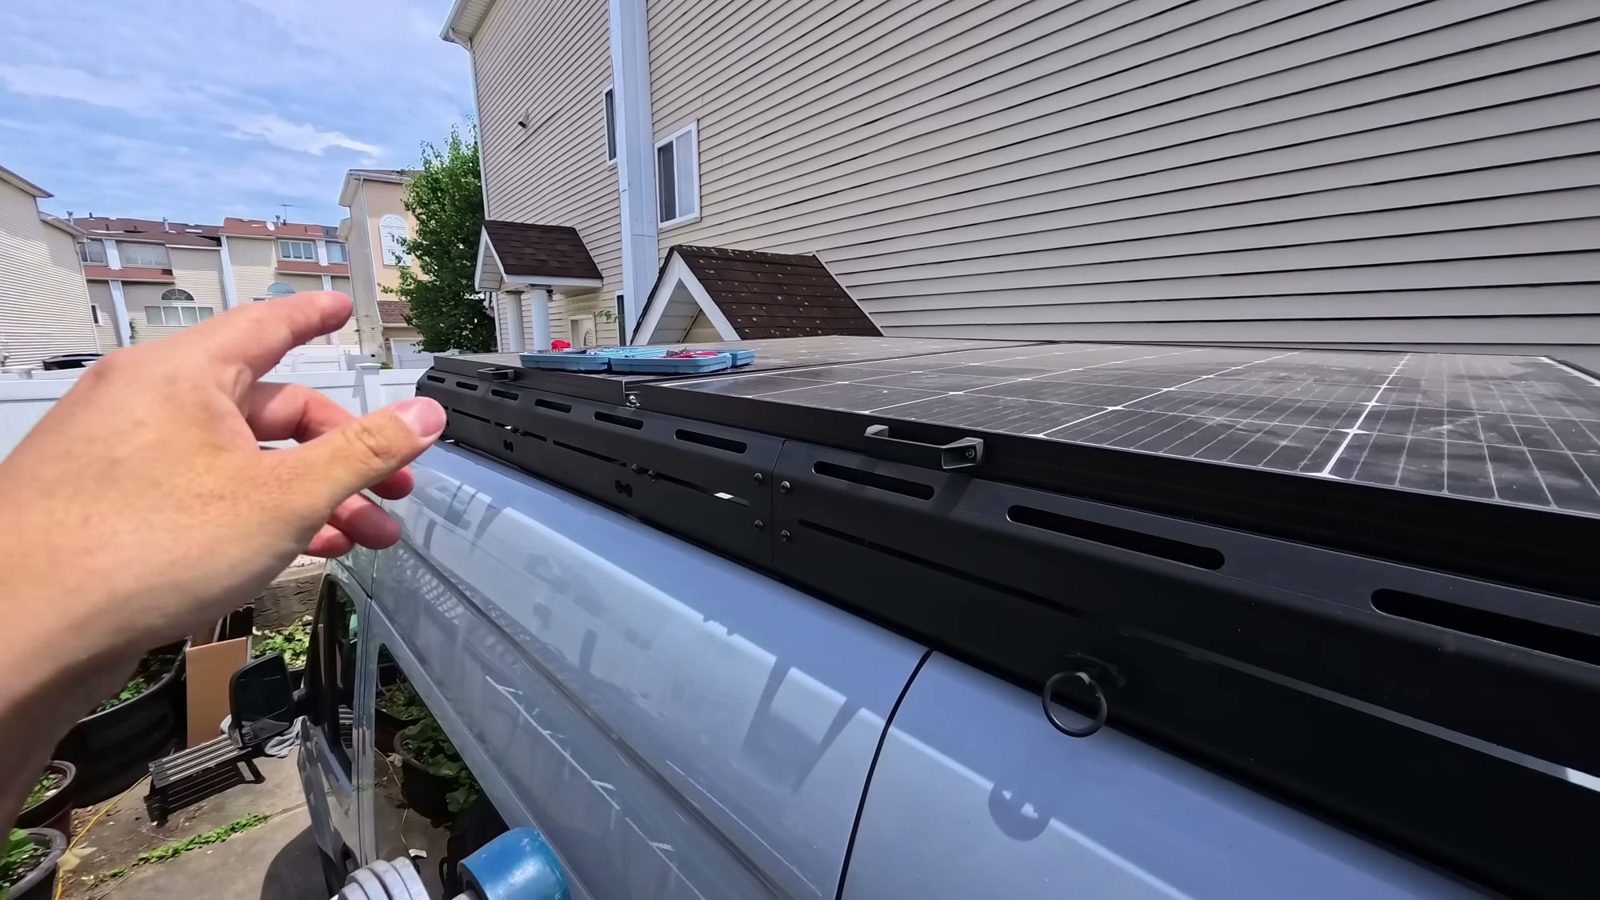
Our Sprinter van solar setup is 1,000 watts on the roof: four Newpowa 250W panels on a VannCamp roof rack, sitting right over our two roof fans, wired in series into one Victron MPPT charge controller that feeds our 48V battery bank. In the February sun in Florida it gives us as much as 700W at high sun, and from the street you can barely see it. Here is how we got there, including the tilting plan that didn’t work.
Safety: This is what we did in our own van, not professional advice. Solar and battery wiring can cause fire or injury. Consult a licensed professional before doing any of it yourself, and follow the manufacturer’s instructions for every product.
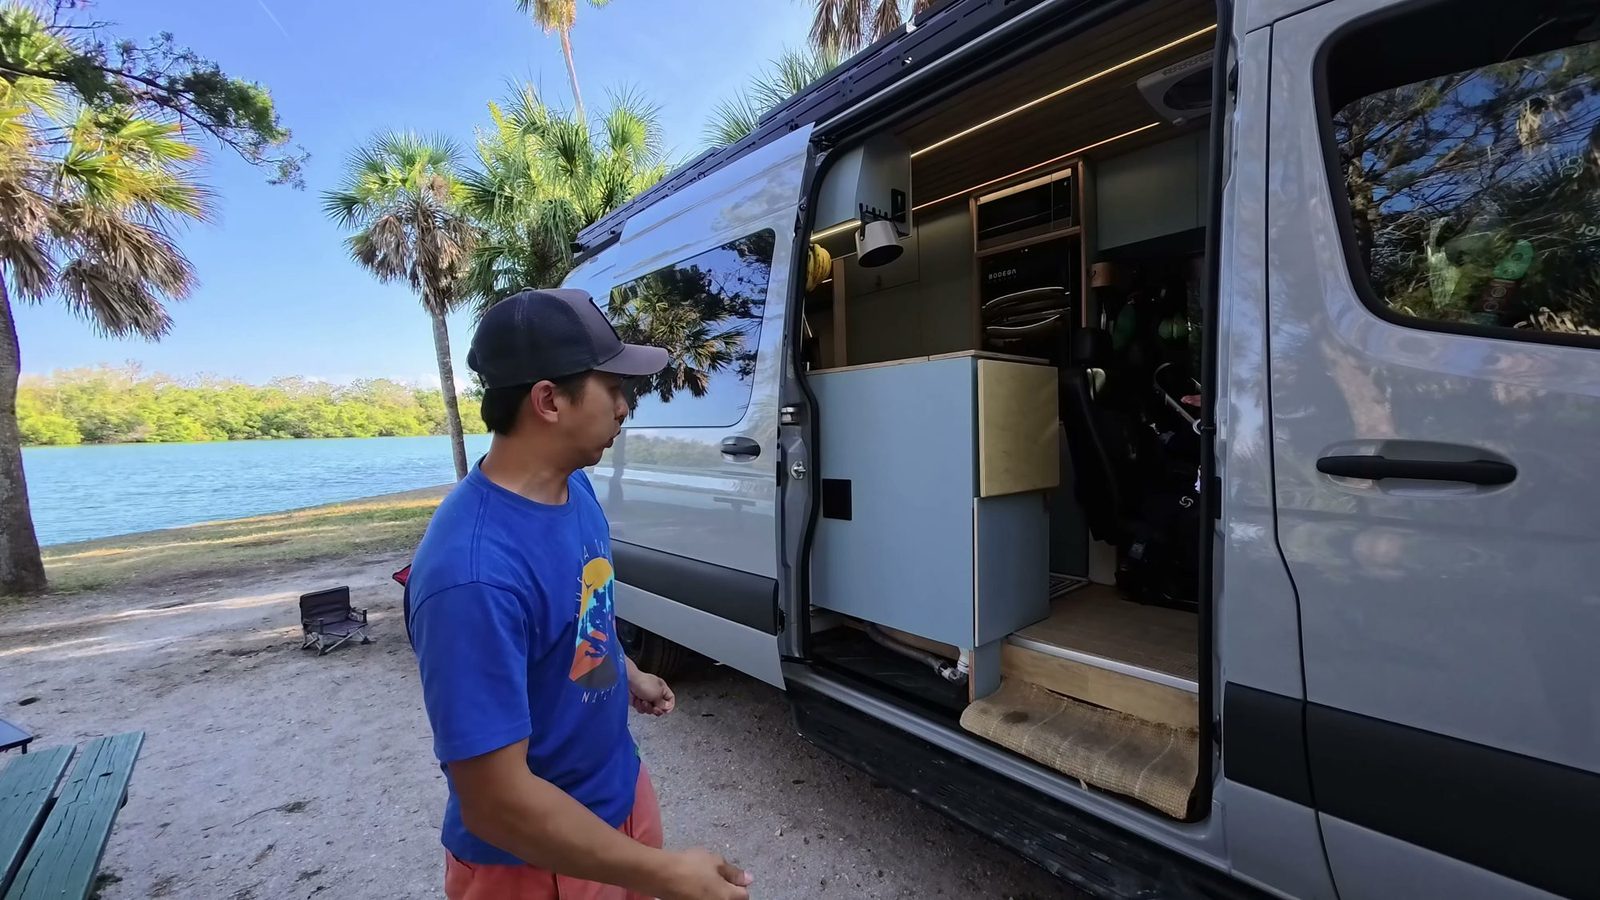
Our van is a 2024 Mercedes Sprinter 170 AWD crew van that we built out from summer 2025 into early 2026, so we could travel with our two boys. If you want the short version of every system in one place, our solar system page has it.
Our setup at a glance
| Panels | Four Newpowa 250W monocrystalline panels, so 1,000W total |
| Wiring | All four in series into one Victron MPPT solar charge controller, with a solar isolator switch between the roof and the MPPT |
| Battery | Our 48V battery bank |
| Mounting | Hinged to the side rails of a VannCamp roof rack, about 2.5 inches above the rack, with both roof fans underneath |
| Cable entry | One weather-sealed junction box on the roof |
If you’re searching for a van solar setup diagram, this is ours in one line:
4 × 250W panels (in series) → roof junction box → solar isolator → Victron MPPT → 48V battery bank
Why we ran four panels in series
The big thing that shaped our panel choice was the battery voltage. Our power system is 48 volts. A 48V battery needs at least about 53 volts coming from the solar array before it can charge. Most panels that fit a Sprinter roof are either 12V or 24V, so you have to wire at least two in series to get there.
So Michael wired all four of ours in series. The four panels act as one, and the voltage adds up high enough to charge the 48V bank.
There is one downside to series that we learned the hard way, and it comes up again in the tilt story below. In a series string, if one panel is in the shade, the whole array suffers. Michael compares it to old Christmas lights. Keep that in mind if you park under trees a lot.
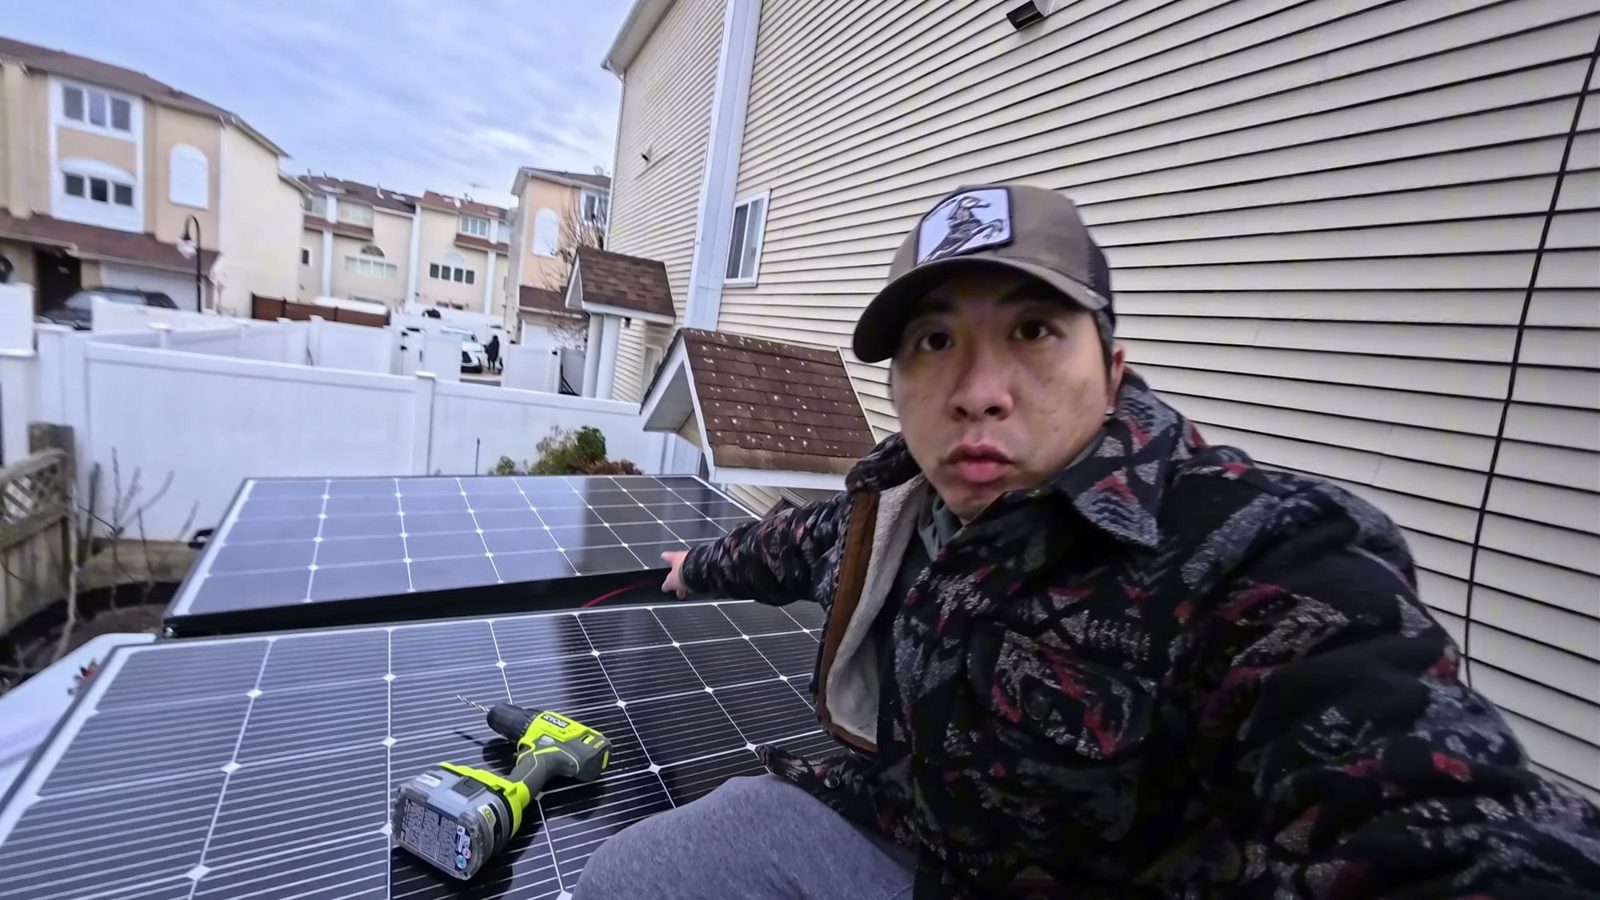 Up on the roof with the panels in December. All four end up wired in series.
Choosing Sprinter van solar panels
In early August 2025, Michael was looking at bigger residential-style panels, like the 400W panels a friend uses. He wanted them inside the roof rails so they’d look stealthier. He measured about 107 inches between the fans and 51 inches rail to rail.
The first panels went back. The first set of panels we bought didn’t work out, and they went back to Amazon. That same day, his plan was four 200W, 24V panels, two in series and two more in parallel, for 800W. We didn’t end up with that either.
What we ended up with: Newpowa 250W. Three arrived in late August, with a fourth to order if he could fit one more up there. He picked them because they fit perfectly between the rack rails side to side. His only comment on the brand on camera was that he assumed they’d work because they’re from a pretty reputable company. Here are the Newpowa 250W panels we used (affiliate link).
Get our complete van build parts list (free PDF)
Every part we kept in our Sprinter build, system by system, with links. Plus a short email series on how each system works.
No spam, unsubscribe anytime. Privacy.
Why we put the panels on a roof rack
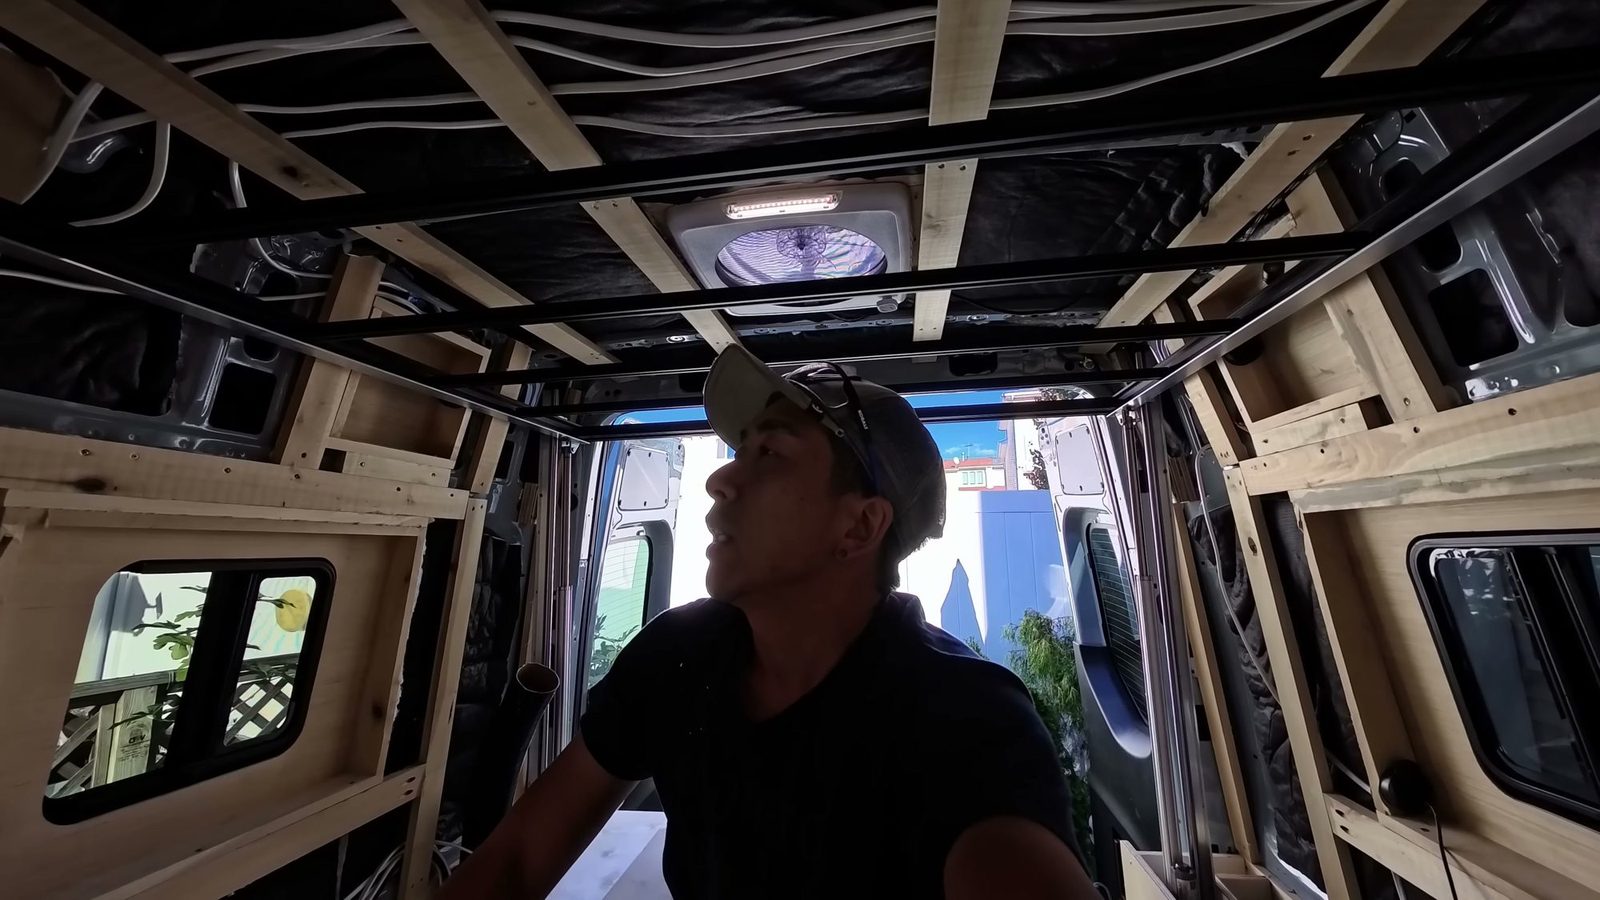
The roof rack came first, because of a plan to tilt the panels (more on that below). Tilting panels need to sit at least 5 or 6 inches off the roof. Raising them had a second payoff: the panels could go right over the roof fans, which need about 7 inches of clearance when they’re fully open.
Our rack is from VannCamp. To be upfront, VannCamp sent us the rack for free, and that’s our affiliate link. Michael said their racks were around $800 when he last checked. The rack install itself is a separate project.
How we fit 1,000W on a Sprinter roof
On the rack, Michael tested 2.5-inch blocks under a panel and found they gave the fans just enough room to open fully. Then he measured about 158 inches of usable roof. That fits 4.57 panels, so four panels and 1,000W.
The finished array sits about 2½ inches above the rack. Michael’s summary: “minimal space, good design.” He also thinks the fans work better under the panels in summer, because they pull in shaded, cooler air.
You can watch him do the measuring in this part of the rack video.
Sprinter van solar panel mounts: hinges, handles and T-slot nuts
Because of the tilt plan, our panels are hinged rather than bolted flat. Here’s how the mounting came together:
- Hinges and a handle. Four hinges along one edge of each panel, and a handle on the other edge so the panel can be lifted by hand. The hinges attach to the rack’s side rails with T-slot nuts.
- Fan check. With a fan fully open, it just touches the panel, but Michael doesn’t think it affects how the fan works.
- Roof storage. With the panels up on the rack, there’s about 7 inches of storage space on the roof, anywhere that isn’t over a fan.
- Starlink moved. He moved our Starlink to the back of the roof, because it can’t get internet under the solar panels.
- Final bolts. The screws that came with the hinges were too short, and a smaller thread than the M5 hardware he had. Until the right bolts arrived, the panels were only temporarily secured and tied down with a bungee. He held the free edge with 90° brackets, then later swapped in proper hinge bolts and locking nuts. That took about 2 hours, and the panels were fully secure.
Our tip from this: check what hardware comes with your hinges before install day.
Getting the cable inside: one roof junction box
In our last van, Michael drilled a separate hole and cable entry for every roof item. This time he cut one bigger hole and set a junction box over it, so he wouldn’t have to drill so many holes.
He drilled up from the electrical cubby and sealed the box with butyl tape and stainless screws. Then he added grommets and four holes, so it’s a one-time job: solar, Starlink, and anything else that might go on the roof later. This matters because right below it is the electrical area.
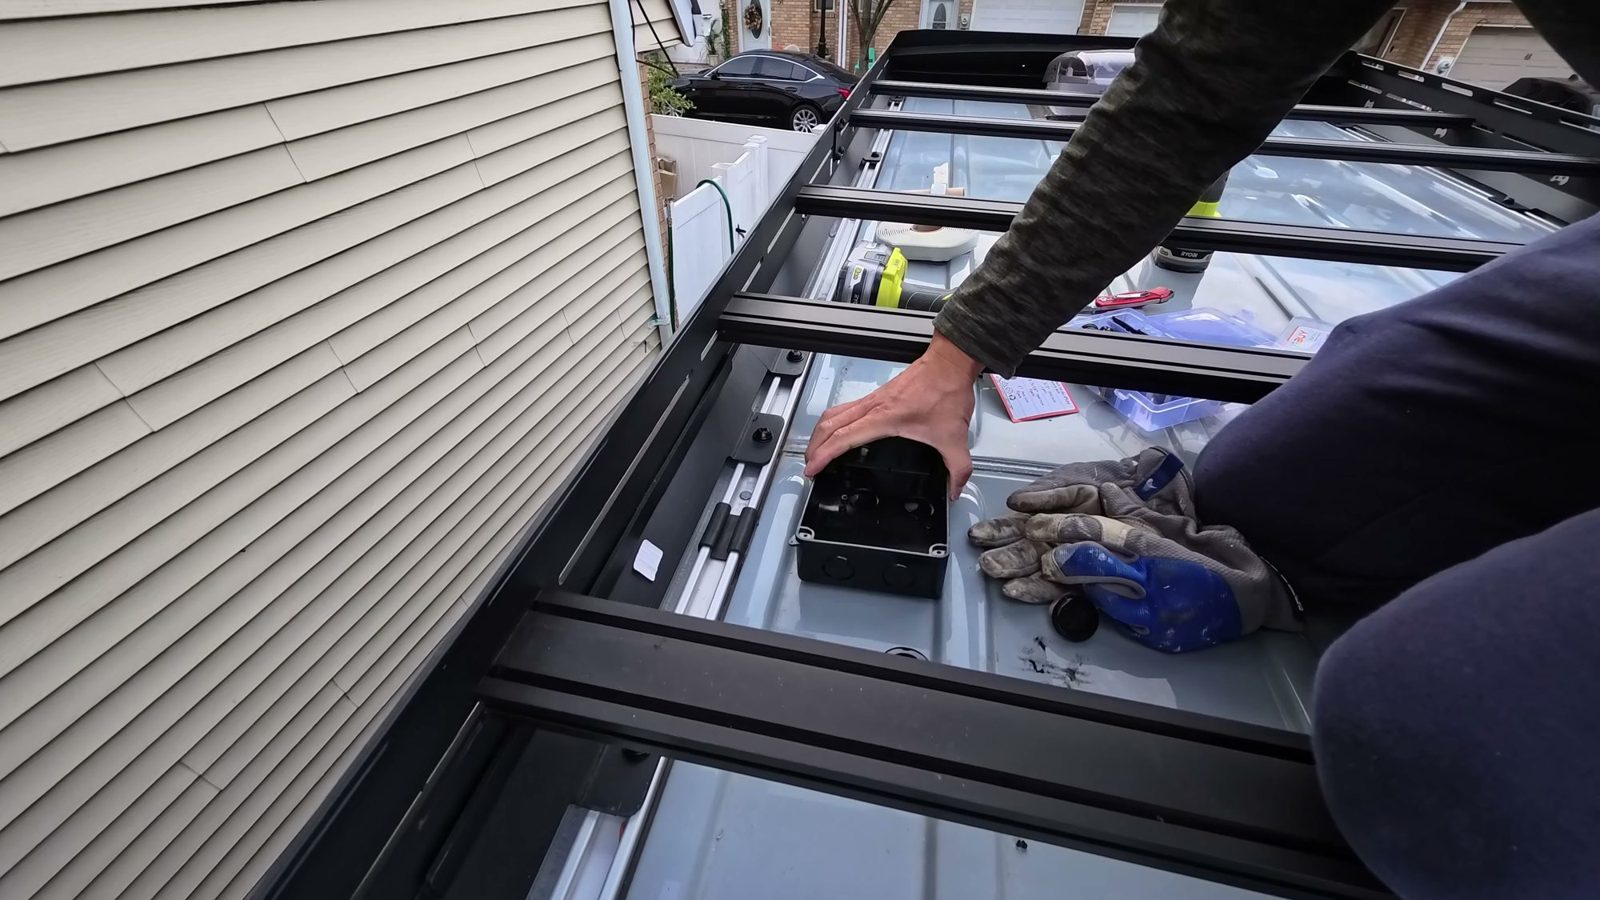 Setting the roof junction box: one penetration for everything on the roof.
The snag. For the solar cable, he added waterproofing cable glands on the box. But the cable’s connectors wouldn’t fit through the glands, and the other end was already connected to the solar charger. So he had to cut the cable in the middle and splice it back together. Route the PV cable through the gland before the connectors go on, and you’ll skip that step.
The pieces we used here are an IP65 outdoor junction box, PG waterproof cable glands and rubber grommets (affiliate links). Everything else is on our full van build parts list.
The first test
The first test was on December 15, 2025, on a cold, cloudy afternoon. All Michael had to do was flip the switch on the solar isolator. The MPPT’s bulk light came on solid, and the system showed 5W, then up to 19W, with no real sun. Not much, but it proved everything was connected.
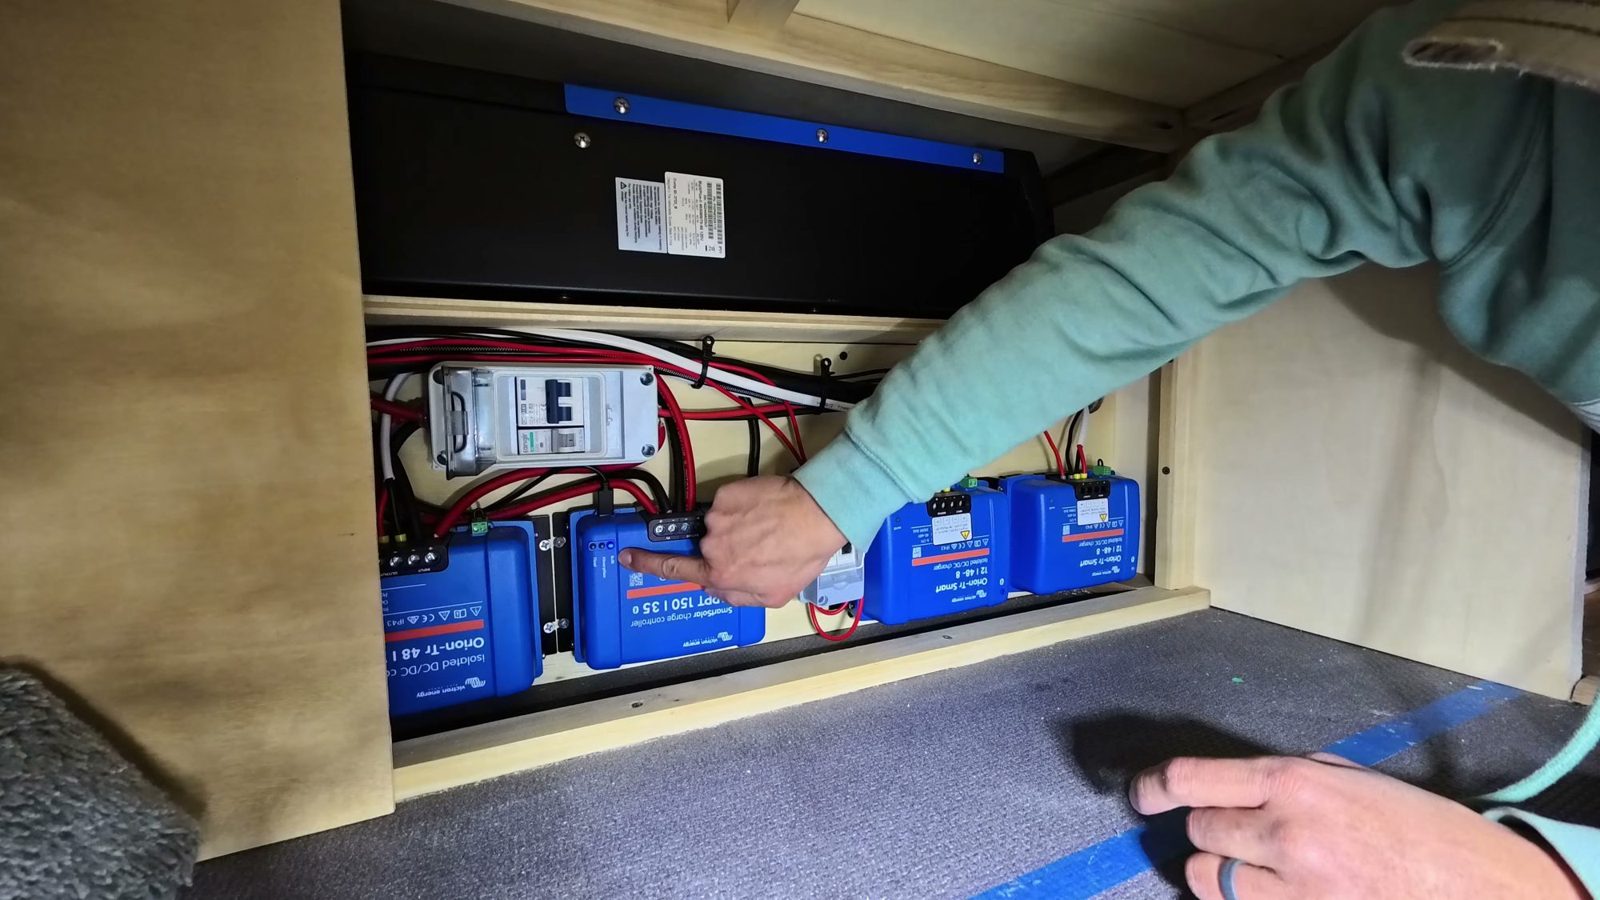 The Victron MPPT in our electrical cubby, with the solar isolator above it.
You can see the series wiring and the first test in this part of our solar install video.
What 1,000W of solar actually produces
Here are the only real numbers we have so far:
- December, clouds: 5–19W on the first test.
- February, Florida sun: as much as 700W of charge during high sun, which is pretty good.
- From the street: you can’t really see the solar panels much.
The tilting plan that failed
While researching linear actuators for our elevator bed, Michael realized he could use them to tilt the solar panels too. The goal was winter charging. With the sun so low in winter, he thought tilting panels would be “a game changer.” This plan is why we got the rack, why the panels are hinged, and why there are two “solar tilt” switches on our control panel.
On December 17, 2025, he unboxed a set of actuators with a wireless remote, three for every two panels. They had no sync module, so they wouldn’t move perfectly together. He also ordered electromagnetic locks to hold the panels down.
Why it failed:
- The front fan blocked the spot where the actuator needed to go under the front panel.
- The panels are wired in series, so if one panel is in the shade, the whole array is basically useless. One panel that can’t tilt drags down the rest.
- His fallback was to tilt three panels and disconnect the fourth in winter, for a maximum of 750W. Then the rack’s back bar blocked the rear actuators too.
So he scrapped the idea. We returned the actuators, the controller and the electromagnetic locks. His idea for later is an aluminum frame so the whole array lifts as one unit. As he put it in our March 2026 van tour, winter hit and Rina gave birth to Archie, so we didn’t get a chance to finish it.
The full story is in this video about the failed tilt.
Making room for the rooftop AC
In June 2026 we added a CountryMod 48V rooftop AC. Its manual says its fan can’t be covered, so the unit had to go in the one gap between panels, and the front of the AC ended up under the second panel.
Michael’s first plan was to raise the whole rack. Instead, he cut the edge of the panel’s aluminum frame where it hit the AC. The metal scissors didn’t cut cleanly, so he finished with a jigsaw, nervous the whole time that he’d damage the panel. The next day the panels were working 100%. We still have 1,000W on the roof, with the AC exhaust right in the gap.
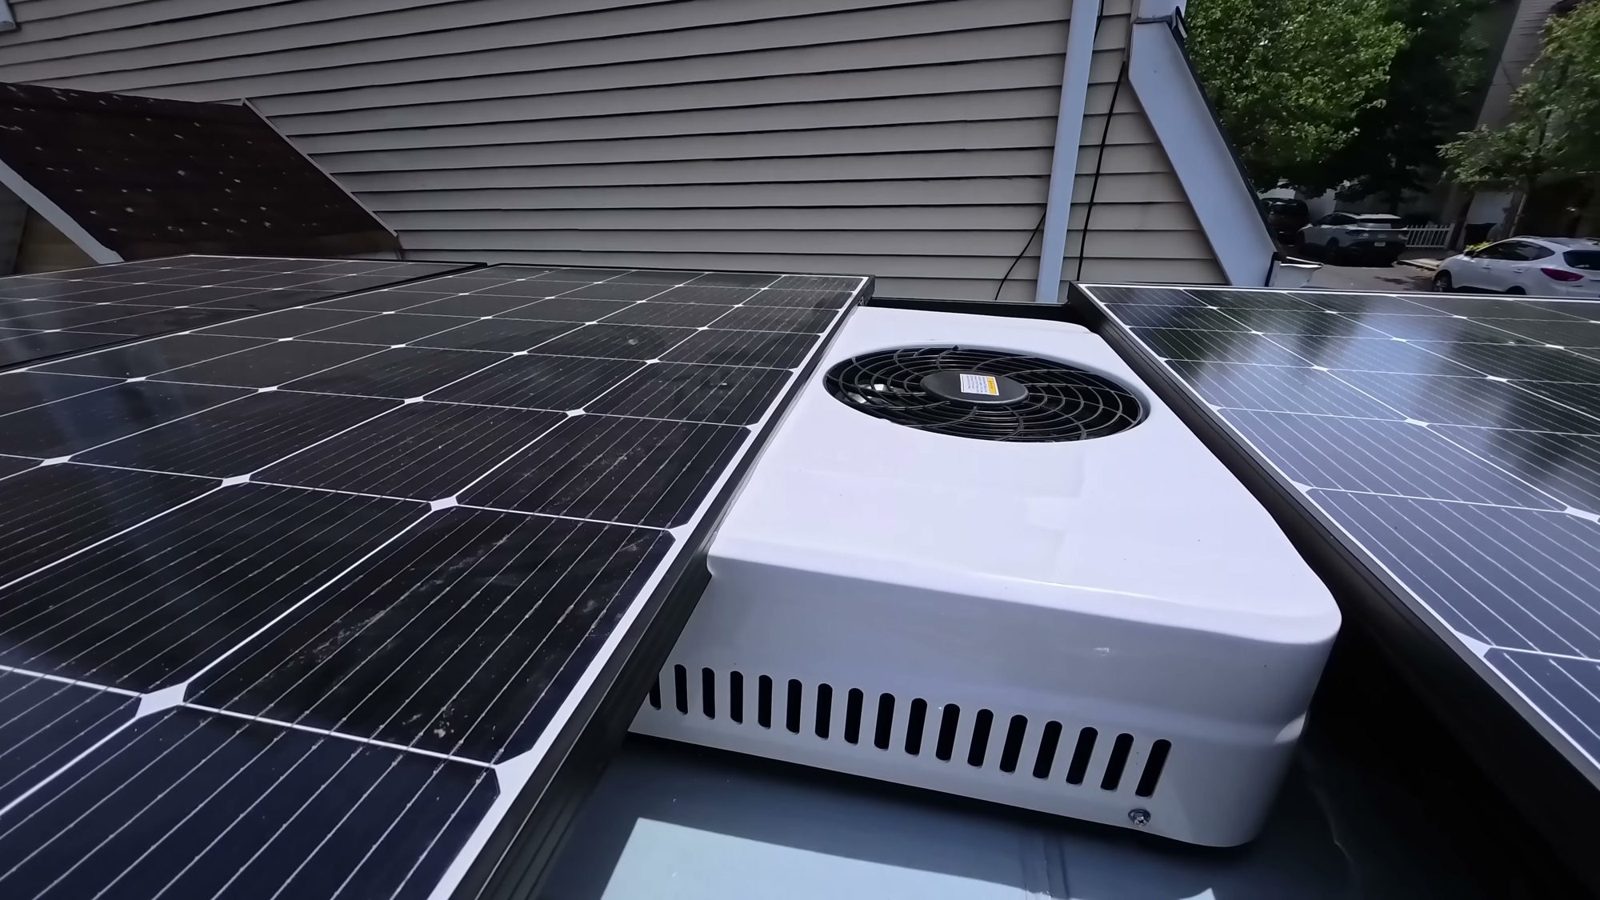 The rooftop AC in the gap between panels, after trimming one panel frame.
What we’d do differently
- Pick your battery voltage and your panels together. At 48V, the array has to clear about 52–53V before it charges, which decides how you wire the panels.
- Plan any tilt system before the fans go in. When Michael planned the fans, he had no intention of using actuators. The front fan was one of the things that killed the tilt plan.
- Remember series strings hate shade. One shaded panel hurts the whole array.
- Route the PV cable through the gland before the connectors go on.
- Check what hardware comes with your hinges before install day.
- Make one roof penetration, sized for the future.
FAQ
How much solar do you have on your Sprinter van?
We have 1,000W: four Newpowa 250W panels on a VannCamp roof rack, wired in series into one Victron MPPT that charges our 48V battery bank.
Why wire van solar panels in series on a 48V system?
A 48V battery needs about 52–53 volts from the array before it starts charging. Most Sprinter-sized panels are 12V or 24V, so you need at least two in series. We put all four in series.
Can solar panels go over the roof fans?
On our van, yes. The panels sit about 2.5 inches above the rack, which gave the fans just enough room to open fully. A fully open fan just touches the panel above it, and it still works fine.
How much does 1,000W of solar make?
On our first cloudy December test it made 5–19W. In February in Florida, we saw as much as 700W during high sun.
Did tilting solar panels work for you?
No. The front fan and the rack’s back bar blocked the actuators, and because our panels are in series, tilting only some of them didn’t help. We returned the tilt kit and kept the panels flat.
Some links here are affiliate links: we may earn a small commission, at no extra cost to you. Details